Six stages, one day on a typical residential garage or basement. Moisture test, diamond grinding, crack and joint repair, pigmented base coat, flake broadcast to rejection, and two clear polyaspartic topcoats. Here is exactly what happens, in order, and why each stage is there.
A polyaspartic floor is installed in one day, in six stages. The crew moisture tests and assesses the slab, diamond grinds it to strip old sealers and cut an open profile, repairs cracks, spalls and control joints, rolls on a pigmented base coat, broadcasts flake by hand into the wet base until the surface rejects more, then applies two clear polyaspartic topcoats — the first to lock the flake down, the second as the wear layer. You walk on it about four to six hours after the final topcoat and park on it at about twenty-four hours. The slab is always ground, never acid etched, because grinding is what gives the coating a profile to key into instead of residue to sit on.
Before a grinder touches the floor, we find out what we are actually coating. Most coating failures are decided at this stage, not at the topcoat.
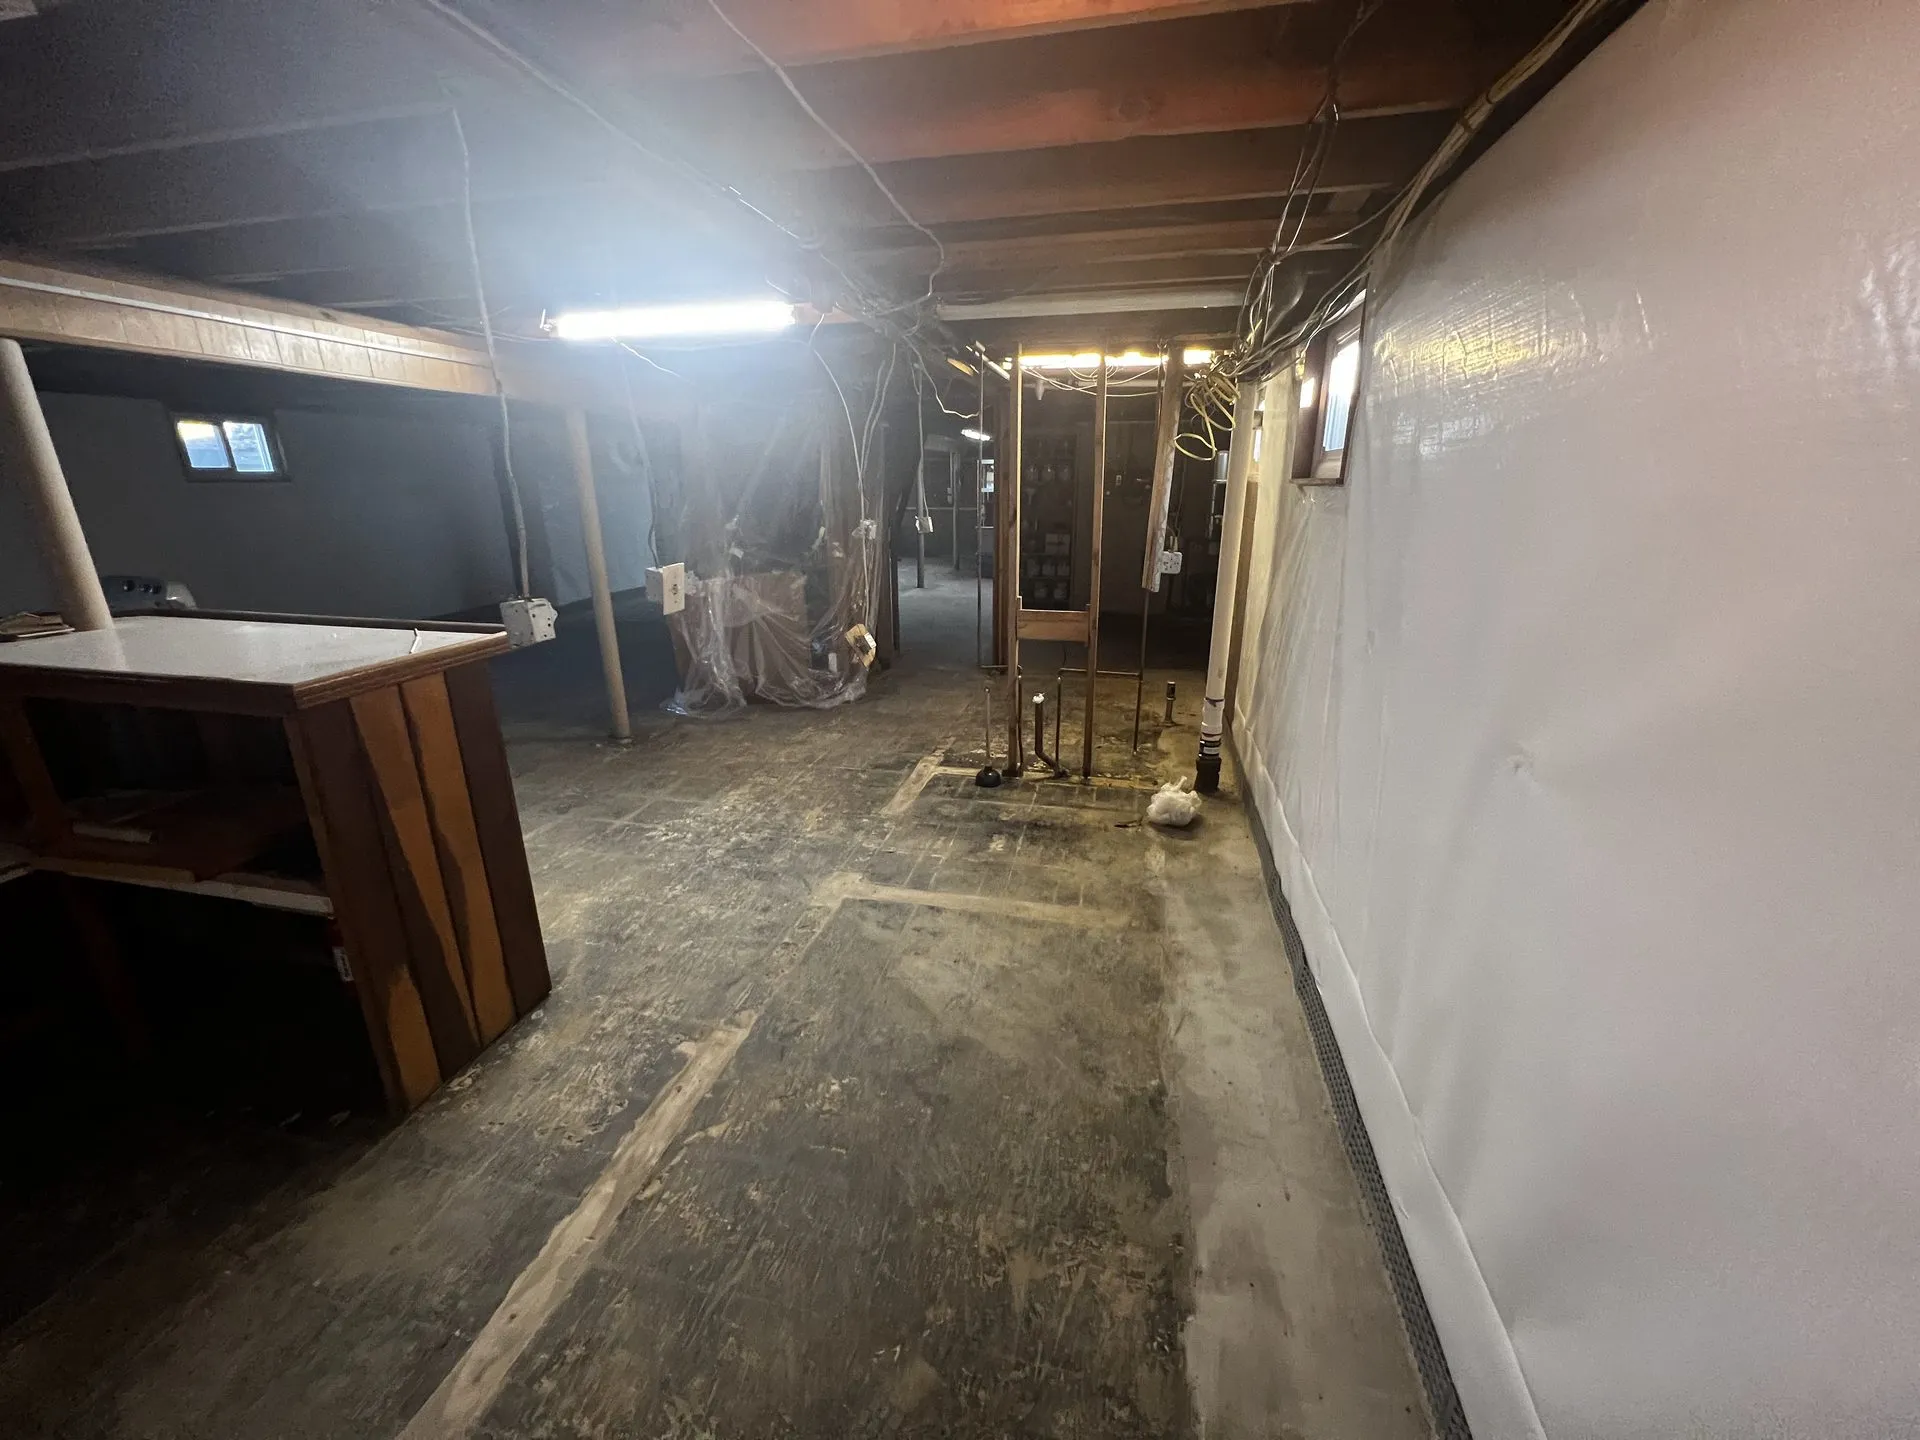
We walk the slab and read it. Is there an existing coating or a sealer on it, and if so what kind — because a sealer is a release layer, and anything rolled over the top of it is only bonded to the sealer, not to the concrete. Where are the cracks, and are they static or still moving? Is there spalling, where the surface has flaked away and left the aggregate showing, or pitting from salt and freeze cycles? Where do the control joints run, and are they cut or sawn?
Then the moisture test. Concrete sits on soil, and soil holds water. Moisture vapor drives upward through a slab continuously, and if it is driving hard enough it will push a coating off the floor from underneath — not at install, but months later, as blisters and disbondment. A slab that fails a moisture test gets addressed before anything else, either with a vapor barrier primer or by dealing with the source of the water, because there is no coating on the market that can fight a wet slab and win. We would rather tell you that on day one than warranty a failure on day two hundred.
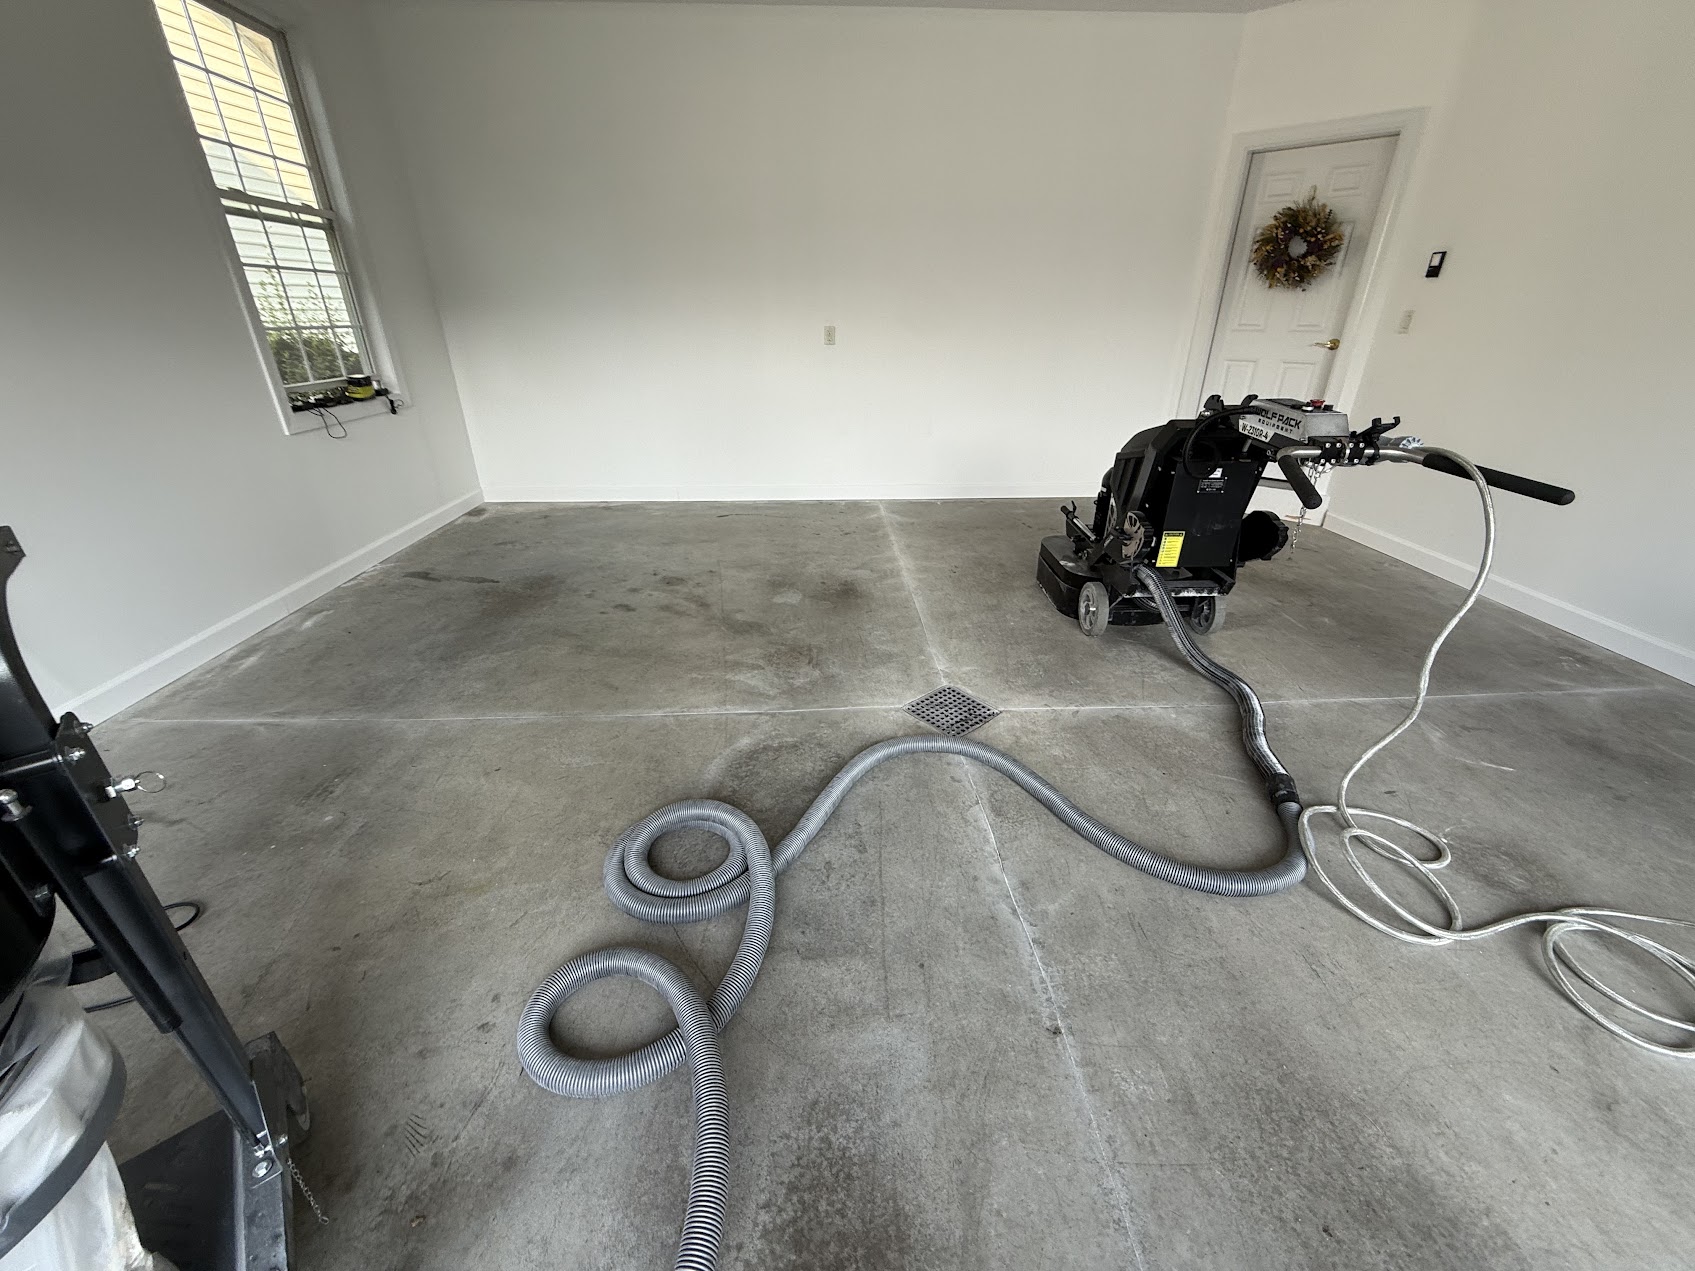
This is the mechanical part, and it is the single biggest difference between a floor that lasts and a floor that peels.
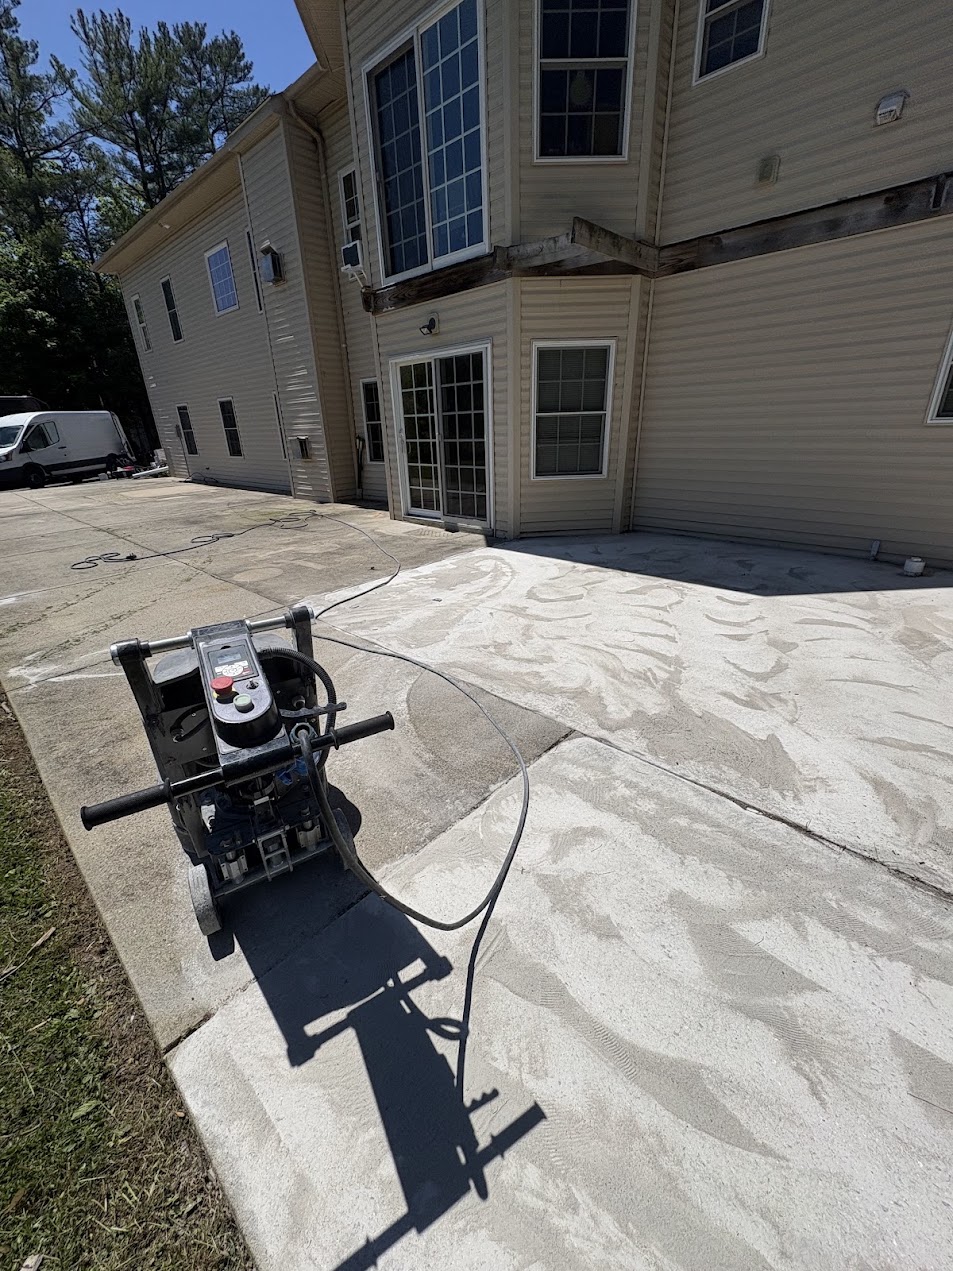
Diamond-segmented tooling on a walk-behind grinder cuts into the top of the slab. It takes off everything that is not concrete — old sealers, old coatings, paint, glue residue, laitance, the weak dusty skin the surface develops as it cures. What is left is clean structural concrete.
A concrete profile is the texture the grinding leaves behind. Think of the difference between trying to glue something to a pane of glass and gluing it to fine sandpaper. A troweled slab is closer to the glass: smooth and closed, with nothing for the coating to grab. Grinding opens it up into a consistent fine roughness, so the liquid base coat flows down into that texture and hardens inside it. The coating is then mechanically keyed into the floor rather than resting on top of it. Acid etching is the shortcut people take instead, and it does not do the same thing — it bites unevenly, leaves residue behind, and cannot remove a sealer at all. We never acid etch.
Edges and corners cannot be reached by a walk-behind machine, so they are ground by hand with a smaller grinder. That includes the wall line, the door threshold, and on a garage the apron where the slab meets the driveway. A HEPA vacuum runs on the grinding tooling, so dust is pulled off at the cutting head as it is made instead of being swept up off your floor afterwards.
A coating is a surface. It will follow whatever the slab underneath it does, so the slab gets fixed first.
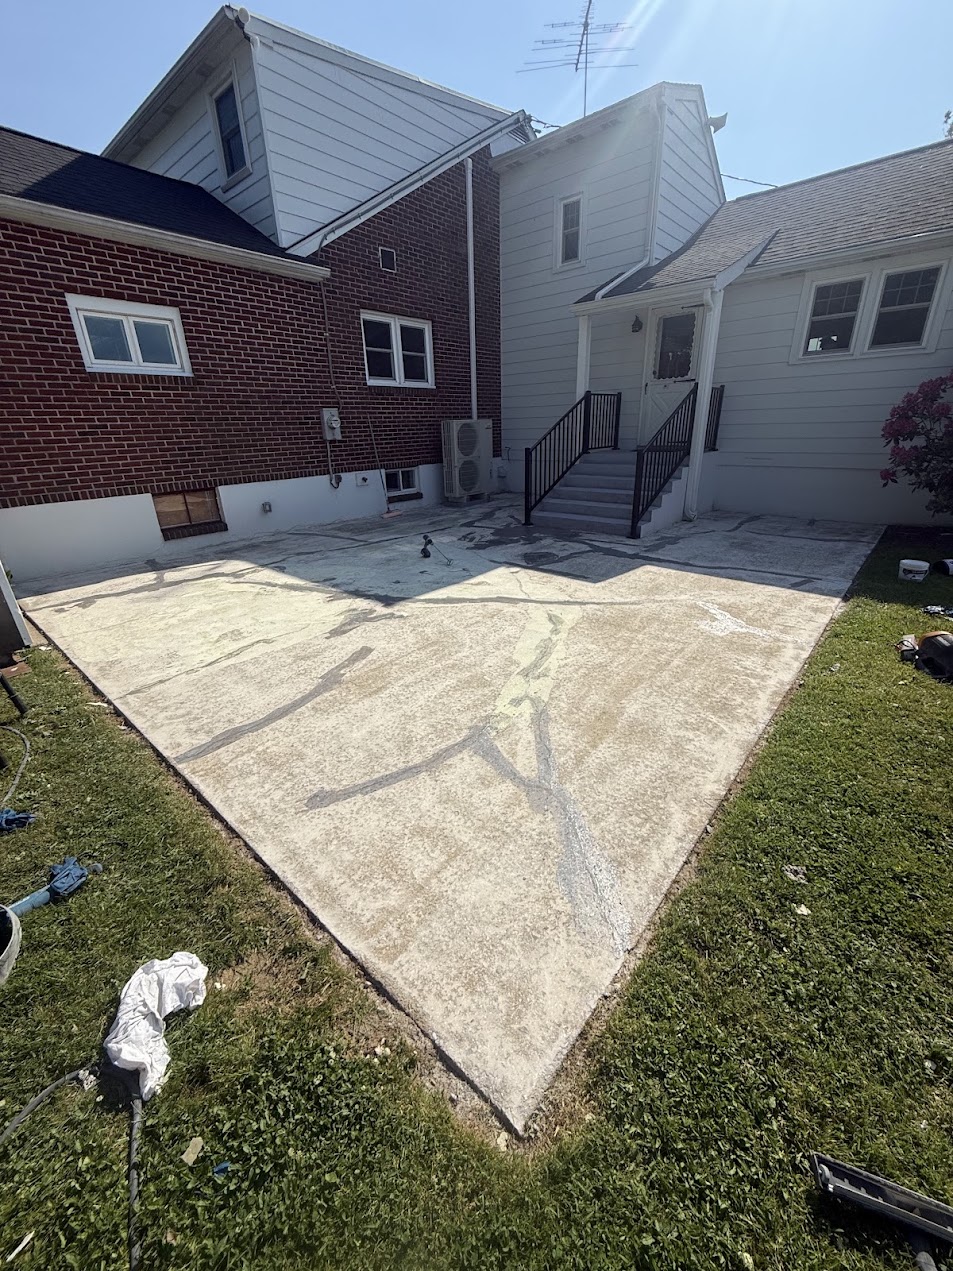
Cracks are chased, not just filled. A grinder or a crack chaser widens the crack out into a V, which does two things: it opens the crack wide enough for repair material to actually get down into it, and it gives the repair a wedge shape that cannot lift back out. Filling a hairline crack without chasing it leaves you with material sitting in the top sixteenth of an inch, which pops out the first winter.
Spalls and pits get patched flush. Where the surface has flaked off or salt has eaten small holes, we fill them with a repair mortar so the finished floor reads as one plane instead of a field of dimples that catch the roller.
Control joints are treated deliberately. Those are the straight lines cut into the slab on purpose, so that when the concrete moves it cracks along a line you chose rather than a line it chose. They have to be handled so they do not telegraph — so the joint does not reappear as a visible line or a crack running through the new finish. Depending on the joint and the room, that means filling it with a flexible material or carrying it through the coating intentionally.
Then every repair is re-ground flush with the surrounding floor. A patch that stands even slightly proud will show through the topcoat as a raised shadow, and once it is under three coats there is nothing to be done about it.
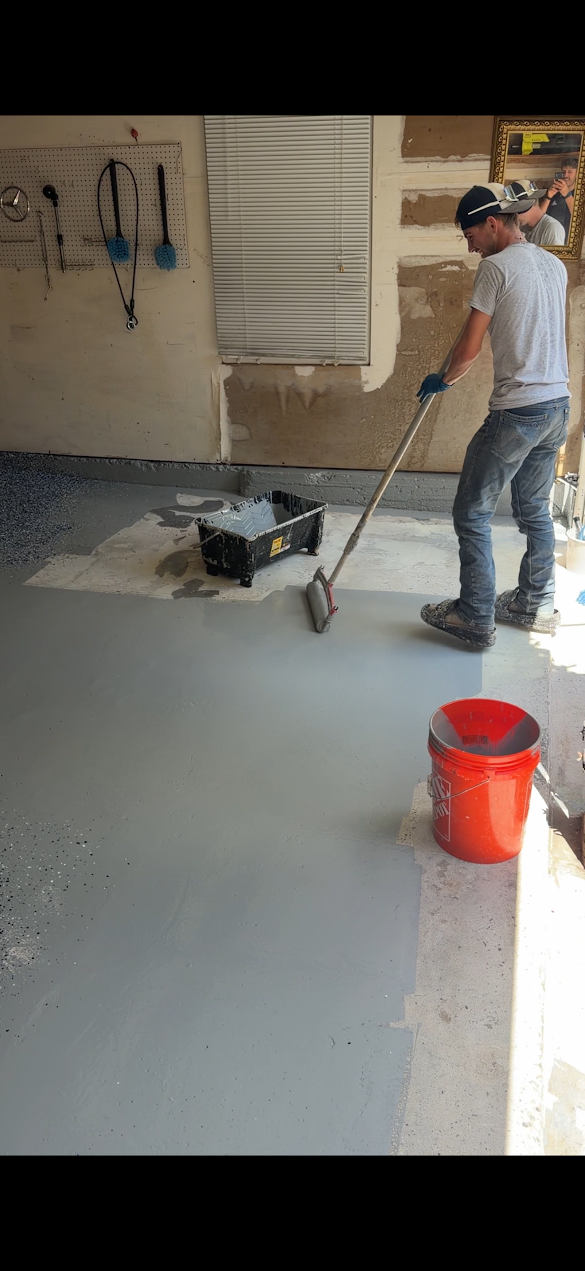
The first coat is the color coat and the bond coat at the same time. It is also the one that puts the crew on the clock.
Polyaspartic is a two-part material. Part A and part B are measured to a mixing ratio and combined, and the moment they are mixed the chemical reaction starts. The working window before the material becomes too thick to spread is called pot life, and on polyaspartic it is short — measured in minutes, not hours. That is why it is mixed in batches sized to the area being covered rather than all at once, and why the crew moves the way it does.
It goes down wet and it goes down fast. The base coat has to still be wet when the flake hits it, because the flake has to embed into liquid material, not land on a skin that has already started to set. So the sequence is not leisurely: mix, pour, roll out to an even film, cut in the edges with a brush along the wall line and the threshold, and keep a wet edge so there is no visible lap line where one pass met the next.
The color you picked is in this coat. Flake color and blend options are on colors and finishes.
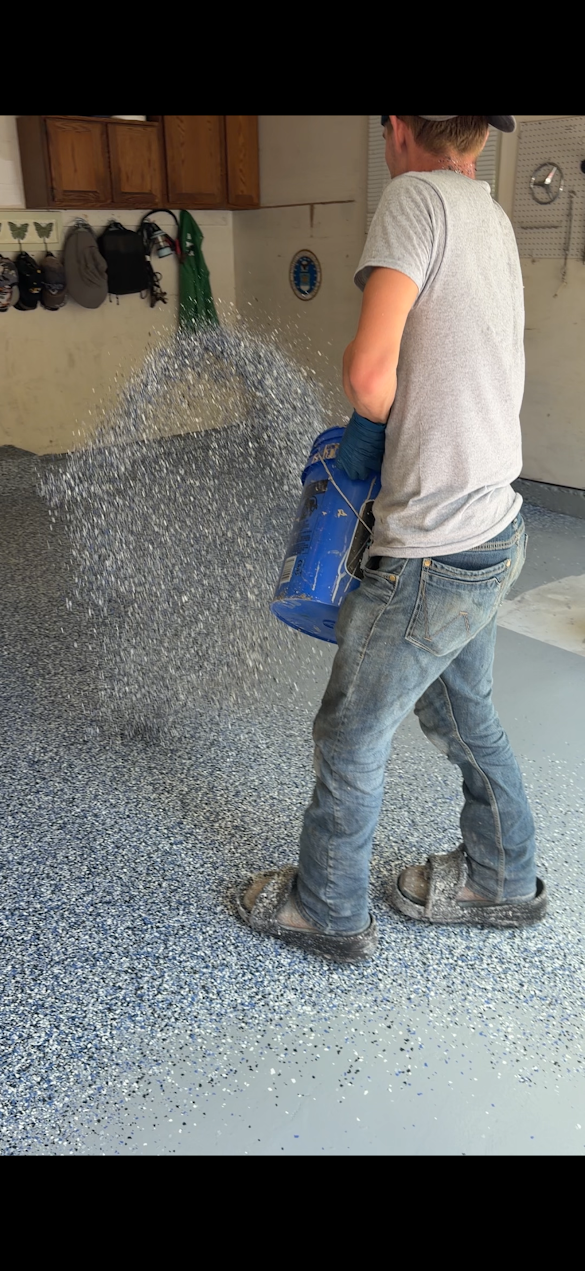
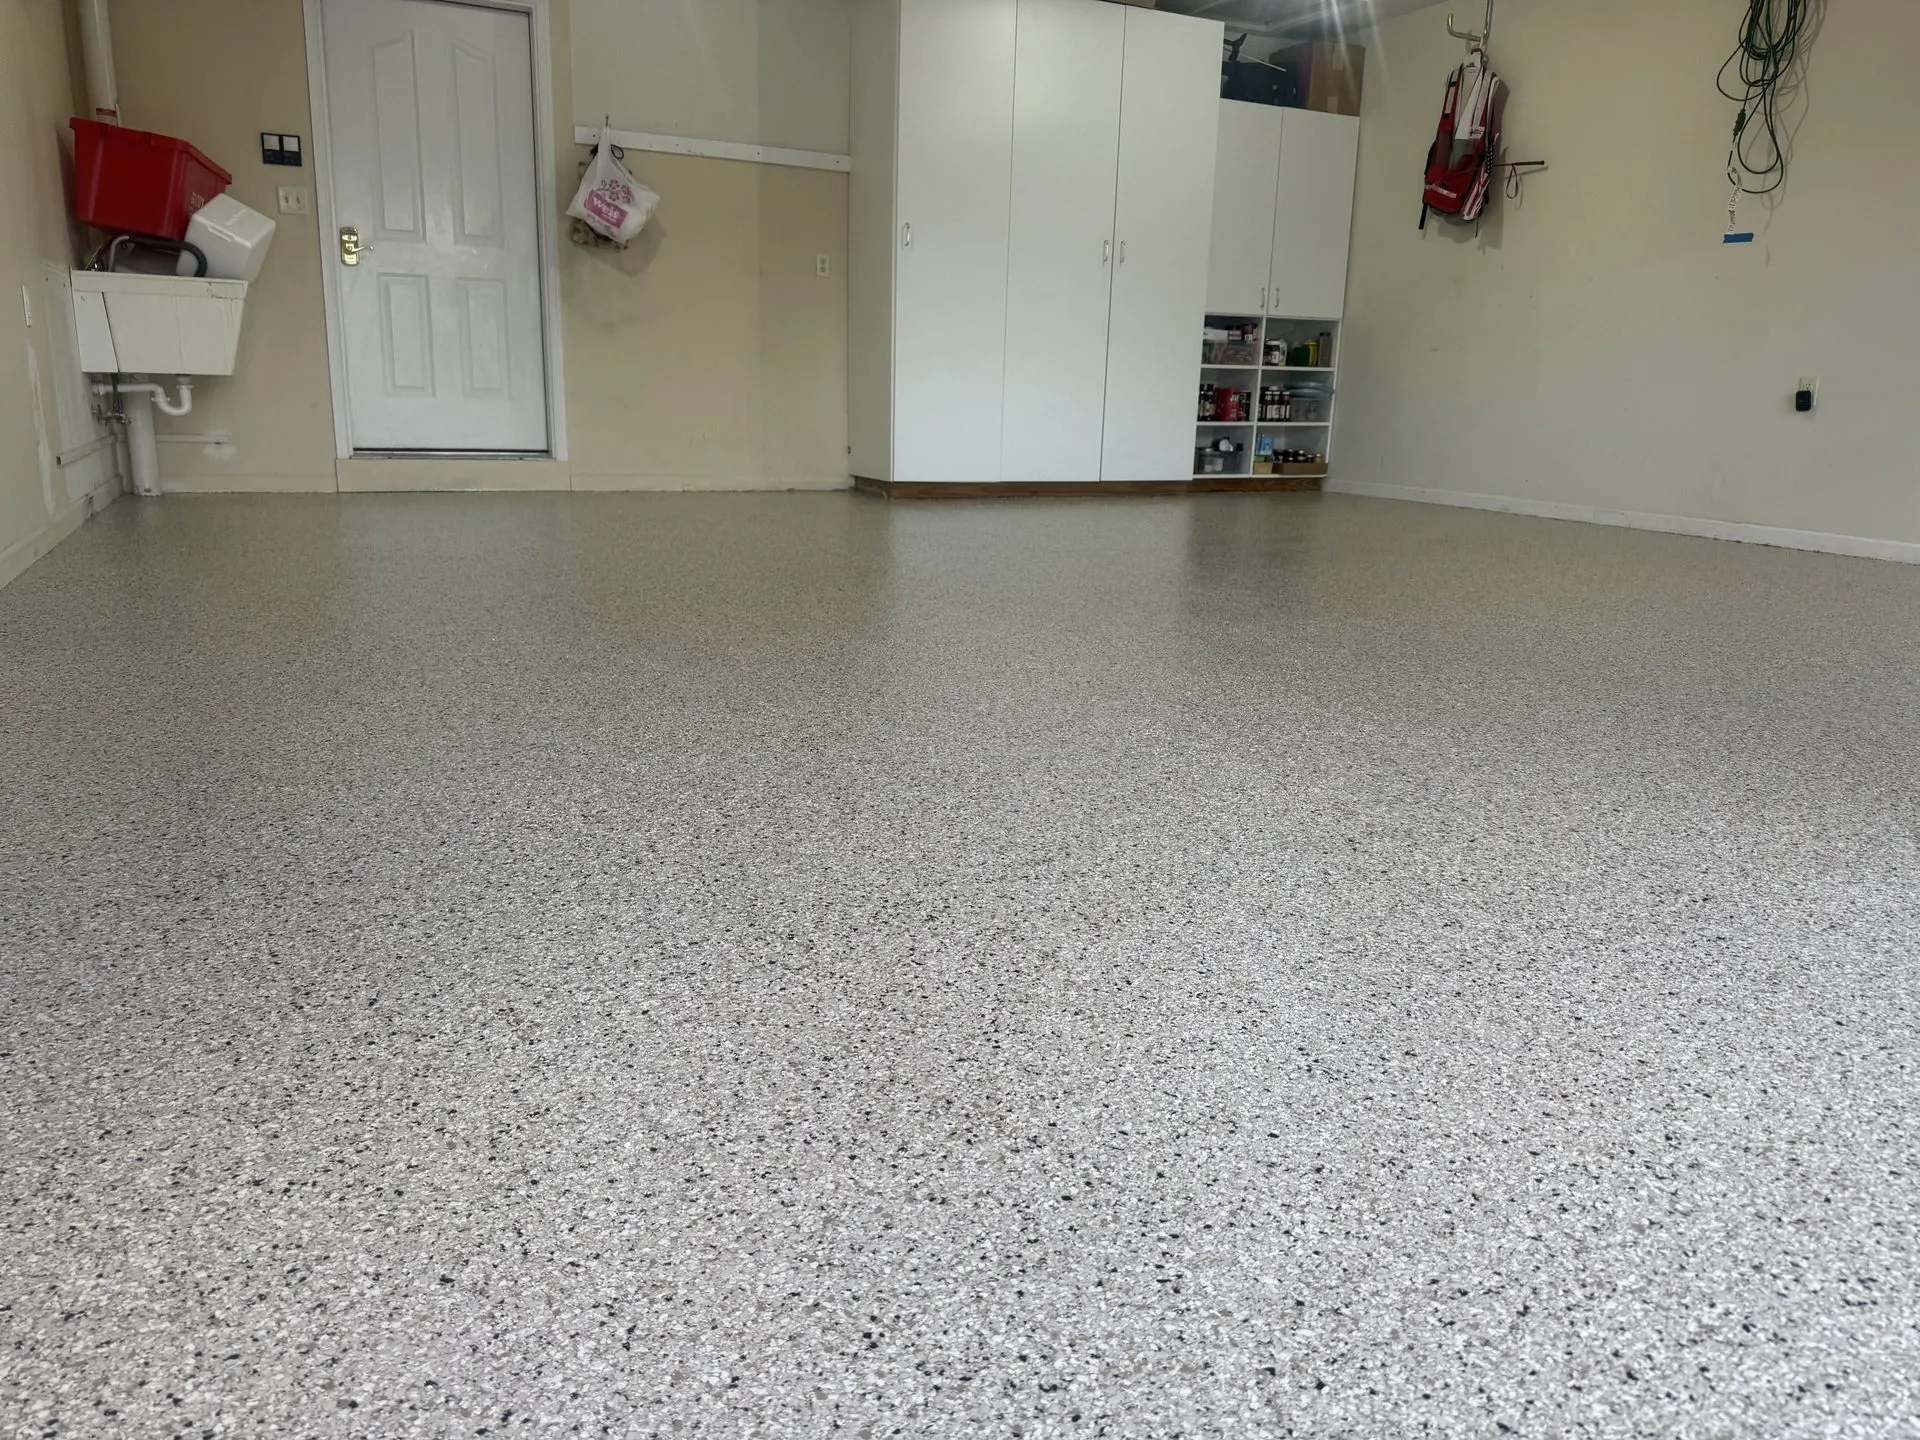
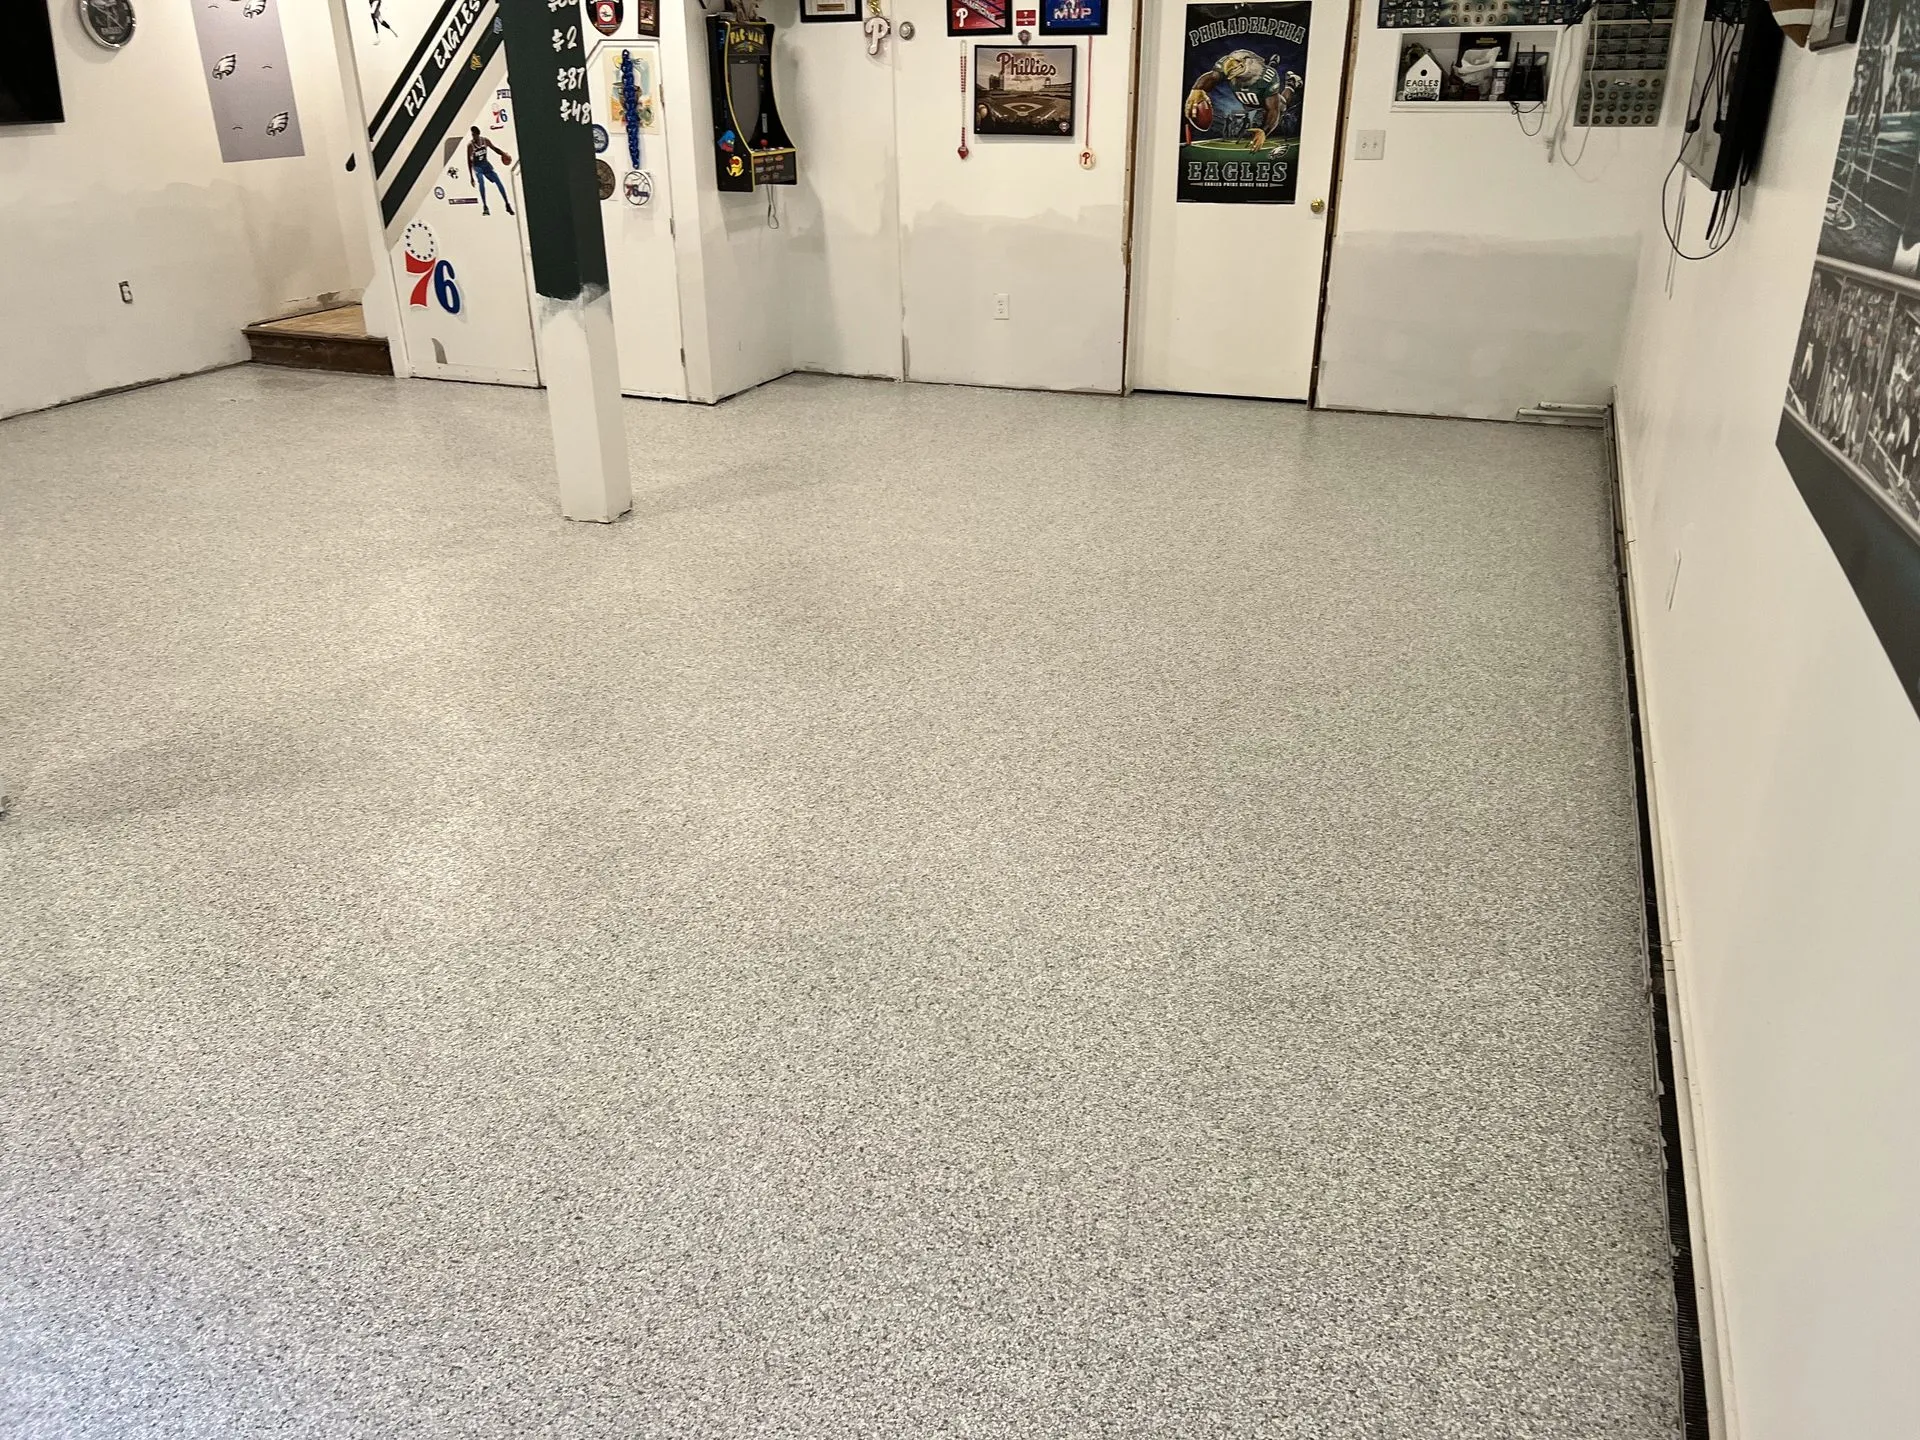
The flake is thrown by hand, into the wet base coat, until the floor will not take any more of it.
Vinyl flake is broadcast by hand — thrown up and out so it falls onto the wet base coat rather than being dropped straight down. Thrown flake lands in random orientation and random overlap, which is what produces an even, natural-looking field. Flake poured or dropped from close range lands in clumps and lines, and you can spot it on a finished floor from across the room.
We broadcast to rejection. Rejection is the point at which the surface will not accept any more flake: every square inch of wet base coat already has flake embedded in it, and anything else thrown simply lands on top of flake that is already stuck and bounces or sits loose. That is the target, and it matters. A floor broadcast to rejection is one continuous layer of flake with no thin spots where the base color shows through. A floor scattered thin — which is the corner most often cut, because broadcasting to rejection takes far more flake and far more time — looks blotchy and has less material standing between traffic and the slab.
Once the base coat has set enough to hold what is embedded, the excess is dealt with. All that loose flake lying on top gets scraped off with a hand scraper and then vacuumed up. Scraping also knocks down the sharp edges of the flake that are standing upright, so the surface ends up flat underfoot rather than rough and sharp. Skip this and the topcoat goes over a bed of loose flake and jagged points, which feels like sandpaper and has nothing holding it down.
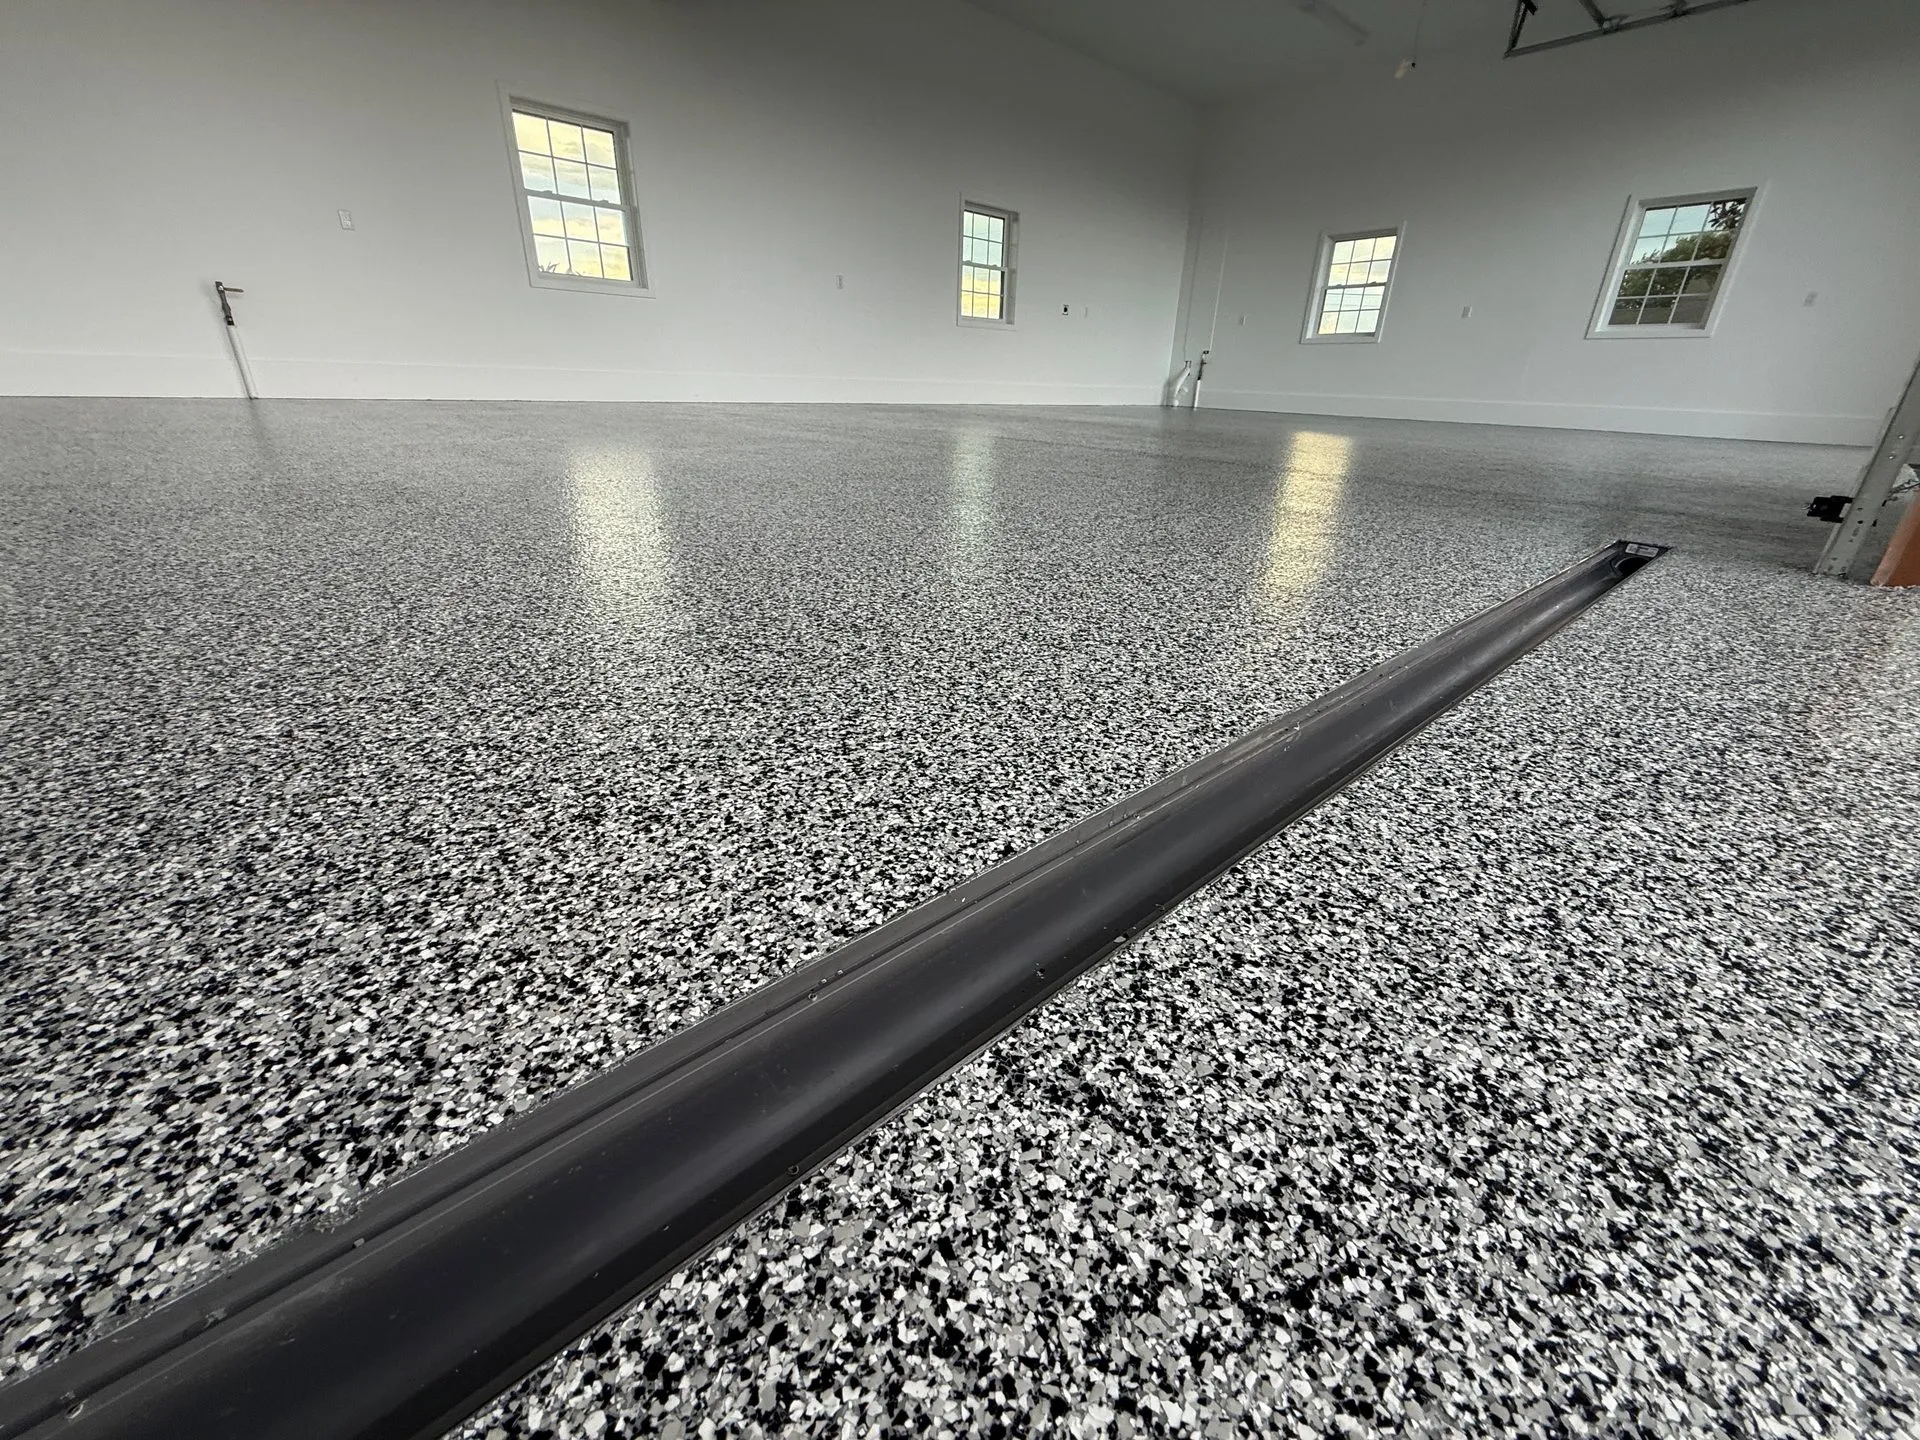
Two, not one. They do different jobs, and a single coat cannot do both.
The first clear coat soaks into the scraped flake bed and locks it down. It fills the gaps between flake chips and encapsulates them, turning a layer of loose-laid flake into one solid mass bonded to the base coat below. After this coat the floor is sealed but it is not yet finished.
The second clear coat is the wear layer. This is the coat your tires, your tools and your feet actually touch, and it is there to be sacrificed to traffic over the years so that nothing below it has to be. It is also where the two specification decisions land: gloss level, which sets how much light the floor throws back and how readily it shows scuffing, and anti-slip additive, a fine aggregate mixed into this final coat where the floor is going to get wet — a basement near a utility sink, a garage that takes snowmelt off a vehicle, an entry, a pool deck.
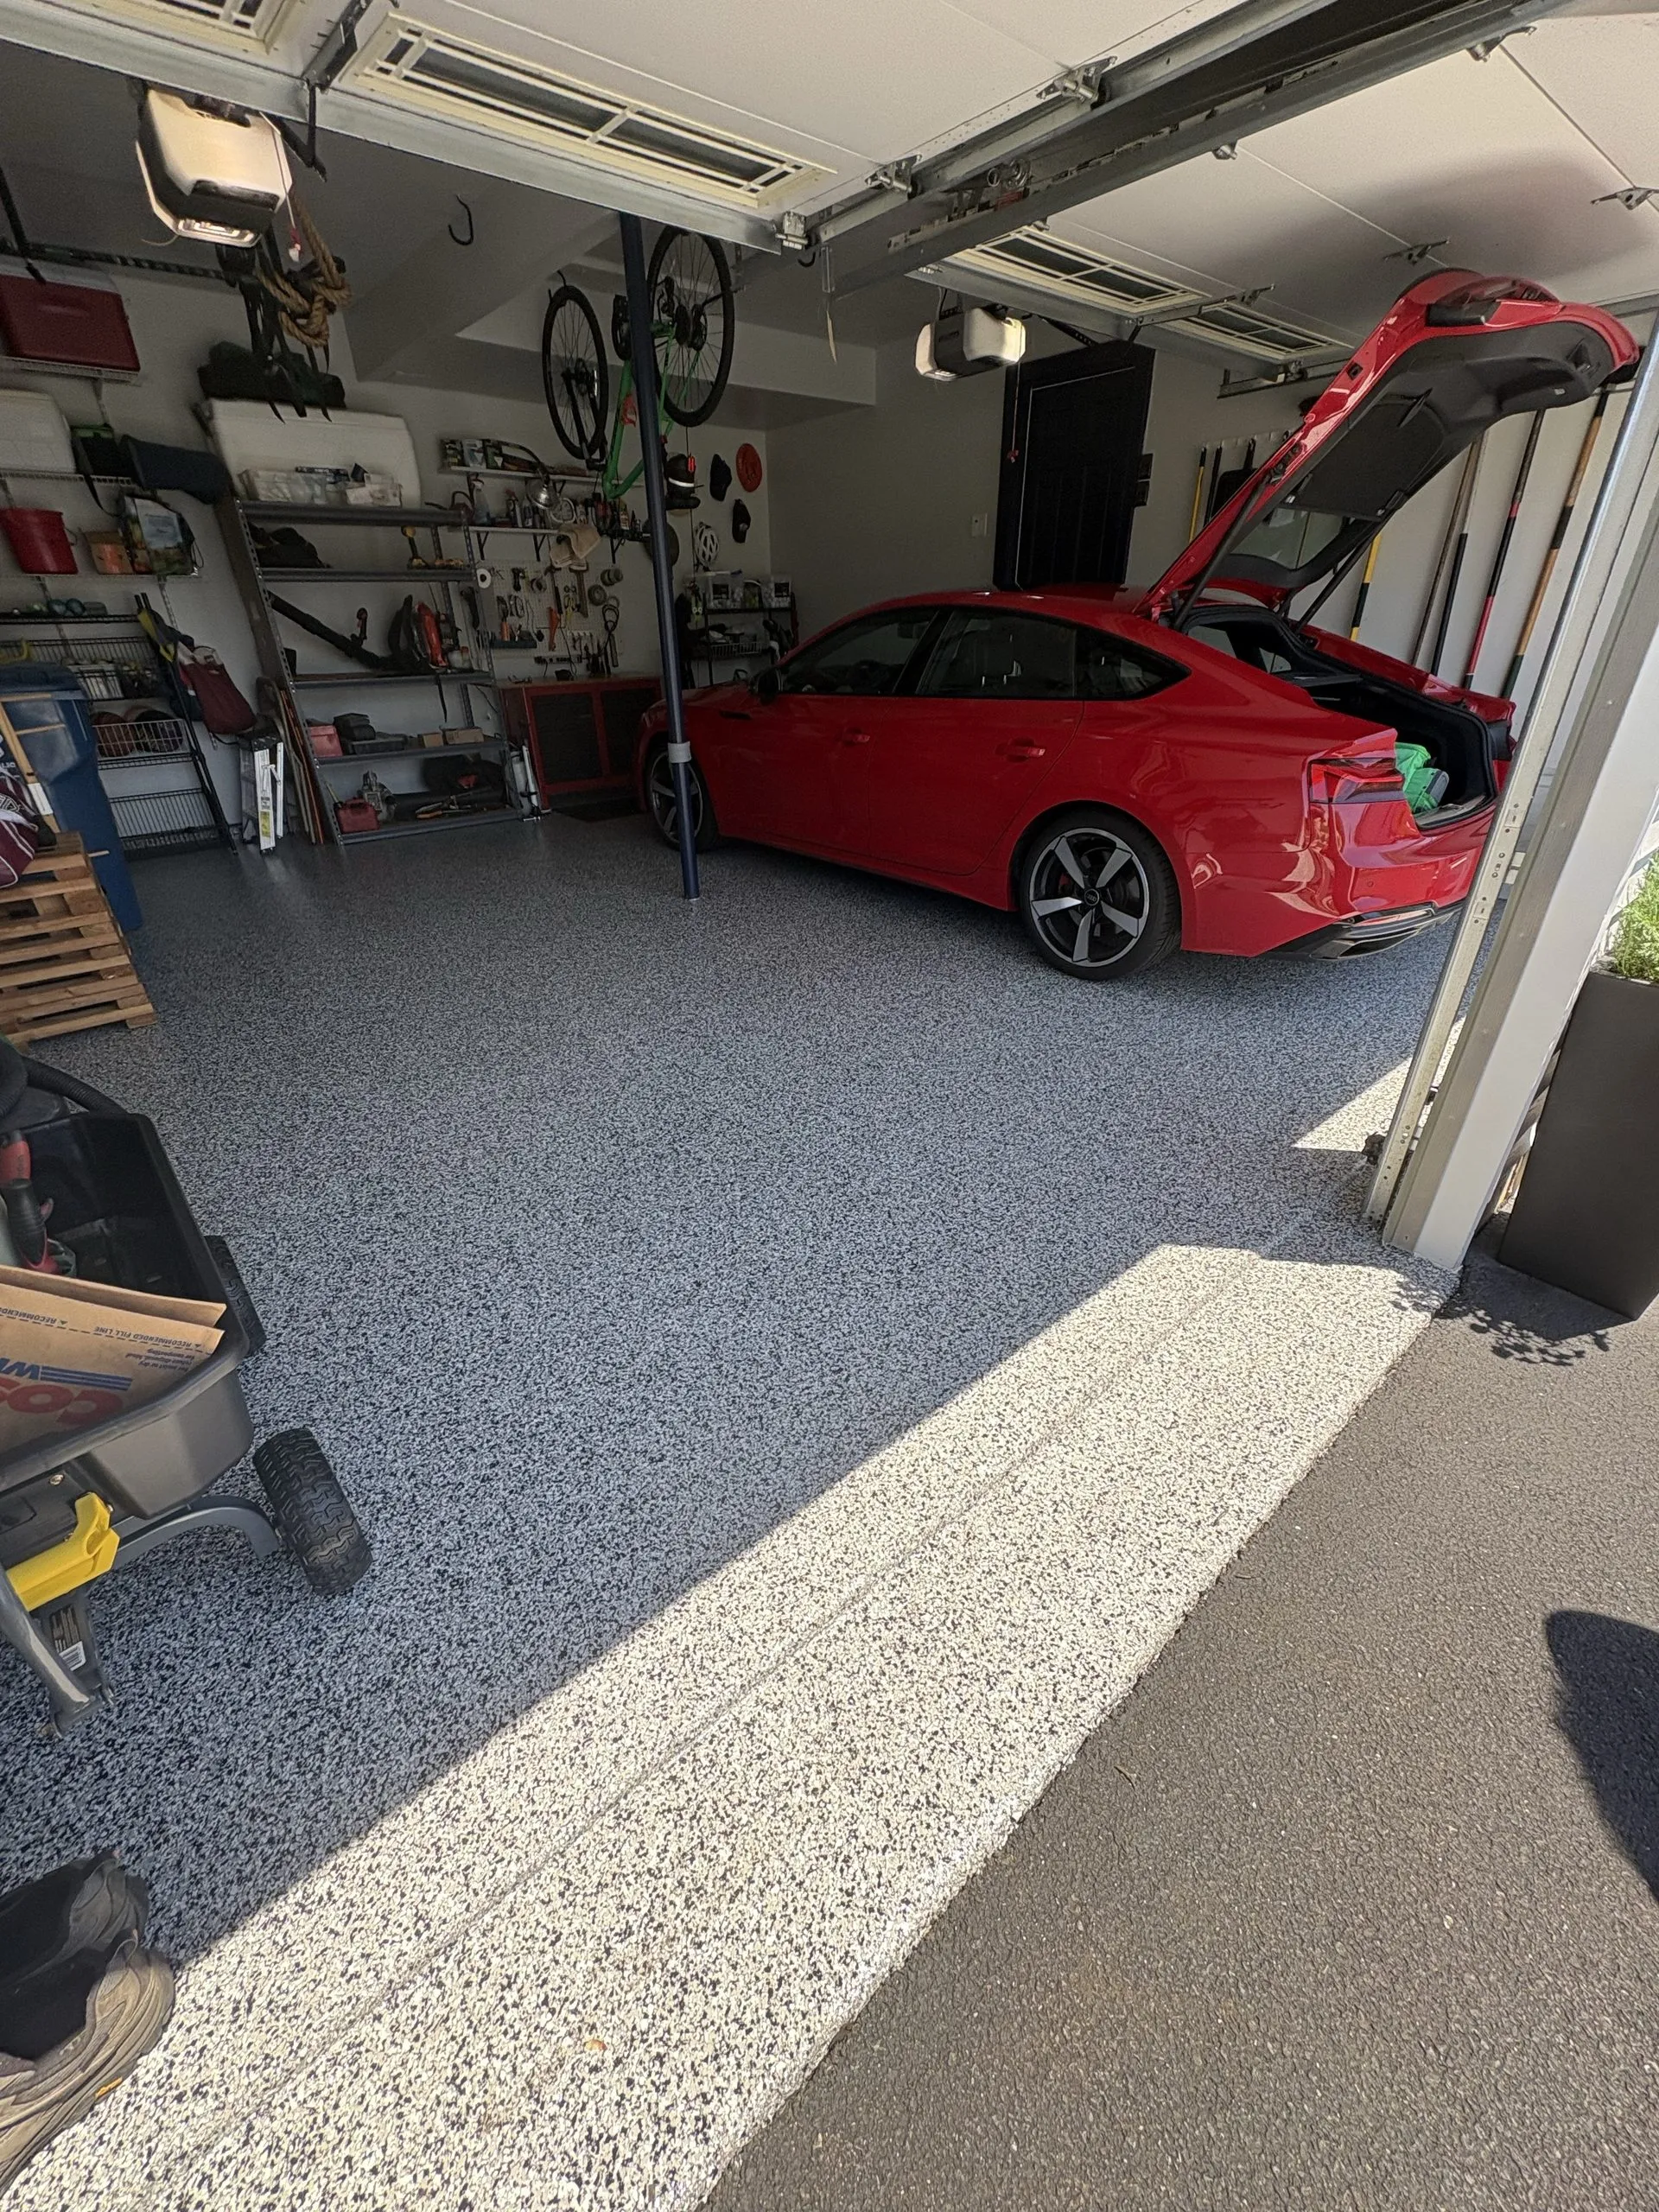
Then it cures. Foot traffic comes back at about four to six hours after that final coat. Vehicle traffic at about twenty-four hours. Because polyaspartic is UV stable it will not amber or yellow the way an epoxy clear does in daylight, and it does not suffer hot-tire pickup — a hot tire parked on it does not lift the coating away with it. The whole comparison is on polyaspartic vs epoxy.
All six stages happen in a single day on a typical residential garage or basement. The clock that matters afterwards is short: you are walking on the floor the same evening and parking on it the next day. That short cure window is the whole reason polyaspartic is worth using, and it is the reason a commercial floor can be done overnight without closing the business.
Short list, and none of it is difficult. Getting it done the night before is the difference between the crew grinding first thing and the crew spending the first two hours moving your things.
These are questions to put to any contractor quoting your floor, us included. If the answers are vague, that is your answer.
Cure time, UV stability and hot-tire pickup, compared directly. Why one material goes down in a day and the other takes a week.
Flake blends, gloss level and anti-slip options — the decisions you make at stage four and stage six.
Warranty, maintenance, cleaning, and what the coating will and will not do, plus garage and basement specifics.
One day for a typical residential garage or basement — all six stages, start to finish, with the crew arriving in the morning and finishing in the afternoon or early evening. What extends it is what we find in the slab: heavy spalling, a lot of crack repair, an old coating that fights the grinder, or a failed moisture test that has to be addressed first. Larger commercial floors are phased across nights or a weekend instead, which is covered on commercial floor coating.
Far less than you are expecting, because it is captured at the source. The grinders run with HEPA vacuums attached directly to the tooling, so concrete dust is pulled off at the cutting head as it is created rather than being allowed to fill the room and settle on everything. It is not a dust-free process and we will not claim it is — hand grinding the edges is the dustiest part. But it is contained, and we clean up behind ourselves rather than leaving you a grey film on the walls.
There is a solvent odor while the coats are going down and while they are curing. It is noticeable and most people find it strong for the first few hours, tapering off through the following day and gone within a day or two with normal ventilation. We work with doors and windows open where the weather allows, and run air movement in a closed basement. Polyaspartic is lower in odor than a solvent-based epoxy, but it is not odorless.
Yes, in most cases. A garage install happens outside your living space with the door open, and people usually carry on with their day. A basement install puts the odor inside the building, so we talk about ventilation first — and if anyone in the household is pregnant, has asthma or a respiratory condition, or is particularly sensitive to solvent smells, being out of the house for the working day and that evening is the sensible call. Pets should be elsewhere either way.
Polyaspartic cures across a wider temperature range than epoxy, which is one of its practical advantages and the reason our season runs longer than many coating contractors manage. What actually governs it is slab temperature rather than air temperature, and the relationship between slab temperature and dew point — coating a cold slab when moisture is condensing on it will ruin the bond. We check the slab, not the thermometer on the wall.
Yes. Basements are effectively a year-round job because they sit at a stable indoor temperature. Garages in a central Pennsylvania winter come down to whether the space can be brought up and held at a workable slab temperature for the install and the cure — an insulated garage with heat usually can, an open unheated one on a hard freeze cannot. We will tell you straight which one yours is rather than coating it and hoping.
We stop and tell you before we coat over it. Grinding is also a diagnostic: it exposes things a visual walk-through cannot see, like a crack that runs deeper than it looked, a slab that has been patched badly in the past, or moisture showing up once the surface is opened. If what we find changes the scope or the schedule, you hear about it while the floor is still bare and the decision is still yours. What we will not do is put three coats over a problem and let you find out about it in eighteen months.
Still deciding where to coat first? See garage, basement and patio and pool deck, or check service areas for the counties we cover.
Tell us the room, roughly how big it is and when you want it done. We will measure, look at the slab and give you a price that does not move.

Polyaspartic concrete floor coatings installed in a single day across central Pennsylvania. Every slab diamond ground, never acid etched.
© 2026 Spartic Coatings. All rights reserved.
Serving Lancaster, Chester, Berks, Dauphin, York and Lebanon counties, Pennsylvania.